

A Step-by-Step Guide to Using a Typewriter
Typewriters aren’t just for the past; you can try one out yourself with these simple steps.

You might be thinking, why on earth would I want to know how to use a typewriter? This is written for the people who want to go back to the roots of typing and aren’t afraid to do a little hunting and pecking.
I don’t know about you, but Mavis Beacon would be rolling in her imaginary grave if she saw how people were writing on typewriters. It’s all about the pecking and clucking...like a chicken. Typewriters were still very much a thing even after modern computers came around.
“I kept my typewriter for years. I owned a manual and an electic typewriter, both were nice and I enjoyed them. Once you have one typewriter, you get sort of hooked,” Dale Marquart says. Attending university in the 1980s, Marquart used a typewriter for most of his academic experiences from sales, law to engineering. who used a typewriter for most of his academic experiences. Marquart went to university to study law, but first studied engineering, and then sales. Eventually, he graduated with a JD in Law from the University of San Francisco School of Law, and first went to work in sales. He graduated with a BS in Business Administration from the University of Illinois at Urbana-Champaign. Marquart earned an MBA in Finance and Management from Keller Graduate School of Management at DeVry University.
“I think everyone should learn how to use one,” Marquart says. “The children nowadays don’t appreciate the beauty of something ‘from the stone ages’, as you say.”
So let’s break it down, go back to the stone ages, and learn to use a typewriter.
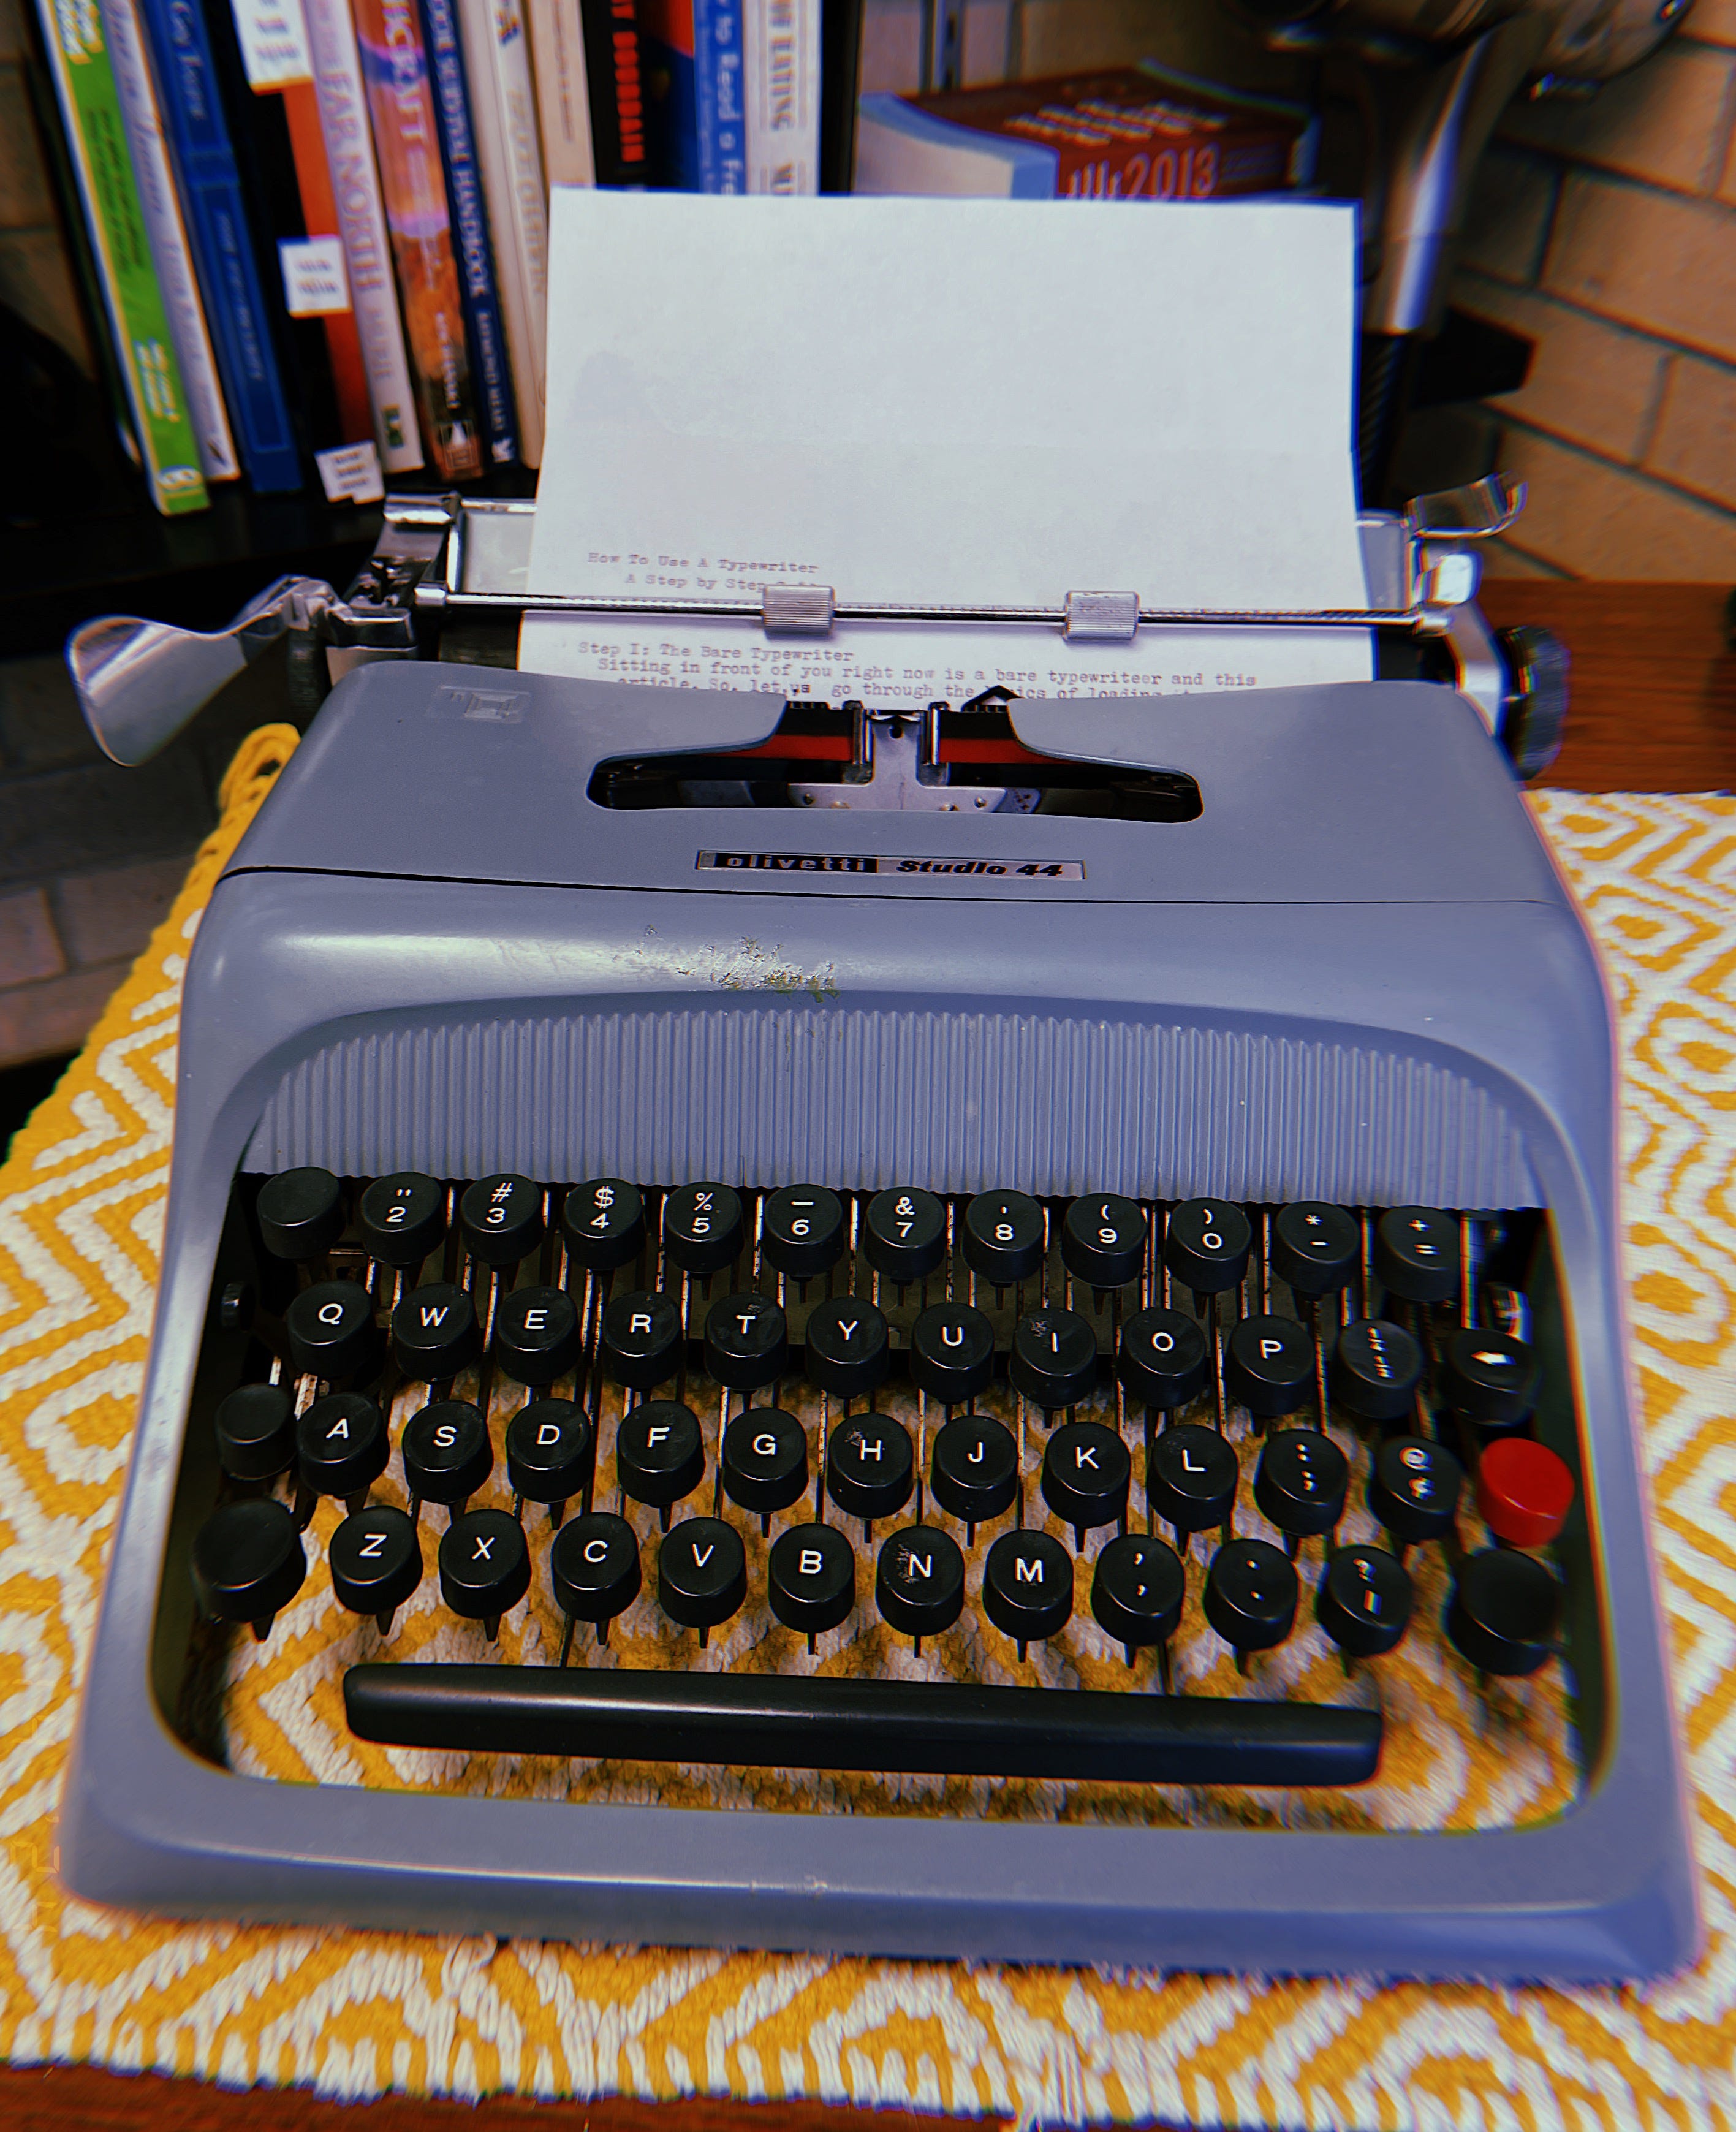
Step 1: The bare typewriter.
Sitting in front of you should be two things. This article and a typewriter. The typewriter is most likely empty. So let’s go through the basics of loading it. You need one sheet of 8x10 paper to start. At the top of the typewriter is a cylinder, otherwise known as the “platen.” The smaller shelf behind the platen is called the paper table; this is where you need to place the top of the paper. After placing the clean crisp paper, locate the small knob on the side of the machine. Turn this knob counterclockwise, or in simpler terms “to the left” (like what Beyoncé once said). This will feed the paper into the roller. Keep turning until the top of the paper is behind the keys and you have enough room to start writing a sentence.
Step 2: The carriage ride.
Some typewriter terminology is weird, I agree. Let us go on a carriage ride, which is the part of the typewriter that moves the roller across the page. It’s the one you have to reset, and it’s the one that also makes a ding once you hit the end of the page. It sounds like a cute little jingle bell, and it will stop you from moving. Start by pushing the carriage to the left along with the roller. It will stop at the right margin so don’t worry about that part. You won’t be able to move it any further once it hits its home base.
Step 3: Write away!
Now, for the fun part: the typing! Start pecking away. Go slow, and don’t be afraid to hit the keys as hard as you want. These items were made to last, so they will not break if you hit them forcefully. The harder you hit, the easier the ink shows up.
Step 4: Return
After a while, you’ll hear a ring meaning it’s time to return the carriage. There’s a lever that does this motion. It either moves down or up, depending on the typewriter model, so press it in the correct direction of your typewriter. Next, move the paper however much you want to for the next line. After, you will need to push the roller to the right until the carriage stops it from moving any further. Then, you can continue typing.
Boom! That’s it. Now you know how to use a typewriter. It’s fairly simple. And once you get the hang of it, you know it. It’s like riding a bicycle.
 | A guest post by
|